Table of contents
- 1 Homemade Lemon Cashew Bliss Balls: The Ultimate Energy-Boosting Treats
- 1.1 Introduction: Why Lemon Cashew Bliss Balls Are the Perfect Snack
- 1.2 Ingredients List
- 1.3 Timing
- 1.4 Step-by-Step Instructions
- 1.5 Nutritional Information
- 1.6 Healthier Alternatives for the Recipe
- 1.7 Serving Suggestions
- 1.8 Common Mistakes to Avoid
- 1.9 Storing Tips for the Recipe
- 1.10 Conclusion
- 1.11 FAQs
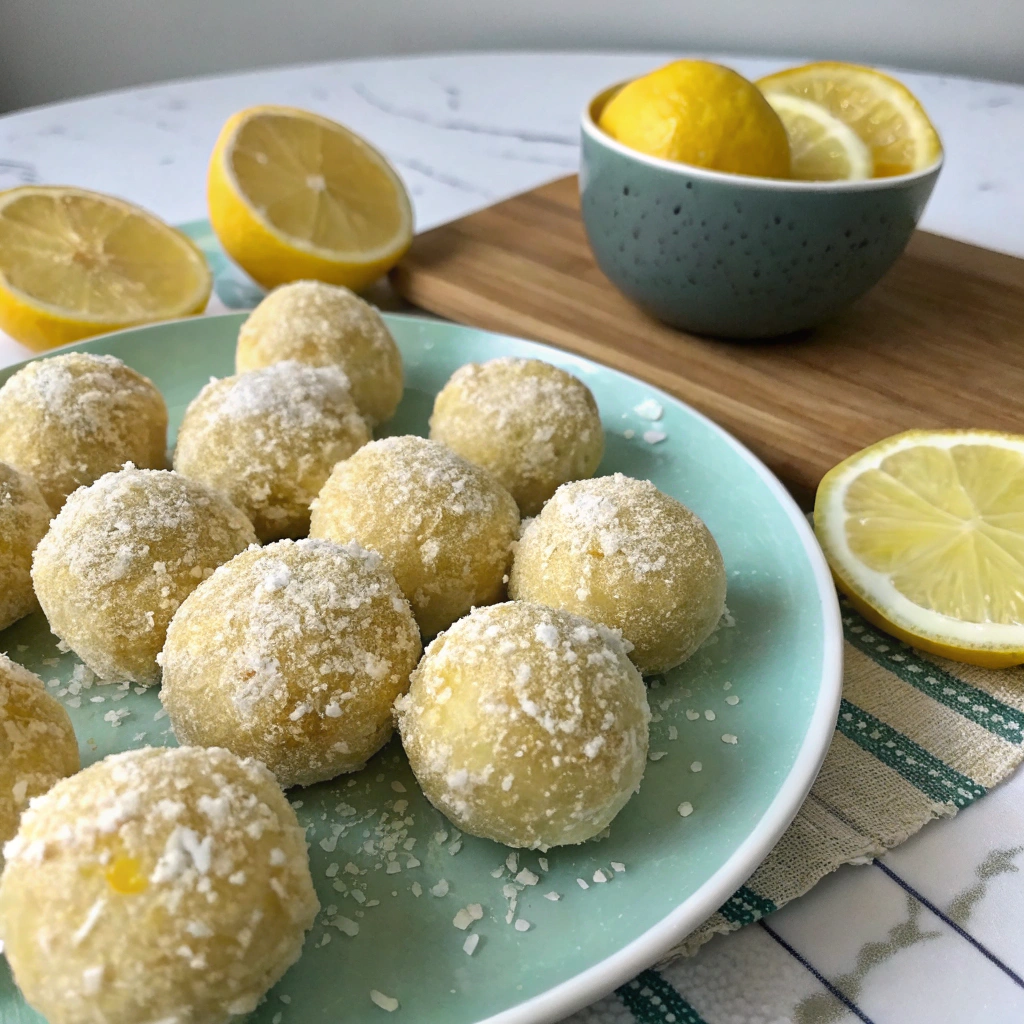
Homemade Lemon Cashew Bliss Balls: The Ultimate Energy-Boosting Treats
Introduction: Why Lemon Cashew Bliss Balls Are the Perfect Snack
Did you know that 68% of Americans skip meals due to busy schedules, yet 72% report feeling guilty about grabbing processed snacks instead? What if you could have a delicious, nutritious snack ready in minutes that satisfies both your sweet tooth and your health goals? Lemon Cashew Bliss Balls offer exactly that solution – combining the tangy zest of lemon with creamy cashews in perfect bite-sized energy bombs that are both incredibly simple to make and packed with nutrients.
These Lemon Cashew Bliss Balls have become increasingly popular among health enthusiasts, busy parents, and fitness lovers alike. They provide sustained energy without the crash associated with processed snacks, making them the ideal grab-and-go option for our hectic modern lifestyles.
Ingredients List
To make approximately 12-15 Lemon Cashew Bliss Balls, you'll need:
- 1½ cups raw cashews (unsalted)
- ½ cup desiccated coconut, plus extra for rolling
- 2 tablespoons fresh lemon juice
- 1 tablespoon lemon zest (from approximately 2 organic lemons)
- 3 tablespoons pure maple syrup or honey
- ¼ teaspoon vanilla extract
- Pinch of sea salt
- 1 tablespoon coconut oil (optional, for extra binding)
Ingredient Substitutions:
- Allergic to cashews? Try raw almonds or macadamia nuts instead
- For a lower sugar option, replace maple syrup with 2-3 pitted Medjool dates
- Coconut-free version? Use ground oats or almond flour for rolling
Timing
Preparation Time: 15 minutes
Chilling Time: 30 minutes
Total Time: 45 minutes
Making Lemon Cashew Bliss Balls takes 35% less time than the average energy ball recipe, making them perfect for those meal-prep Sundays or when you need a quick healthy treat without spending hours in the kitchen.
Step-by-Step Instructions
Step 1: Prepare Your Cashews
Toast the raw cashews in a dry skillet over medium heat for 3-5 minutes until lightly golden and fragrant. This enhances their natural flavor and makes them easier to process. Allow them to cool completely before proceeding.
Pro tip: Watch them closely as nuts can burn quickly! A perfectly toasted cashew will have a golden hue and rich aroma.
Step 2: Process the Nuts and Dry Ingredients
Place the cooled cashews and desiccated coconut in a food processor. Pulse until the mixture resembles coarse sand. The texture at this stage will significantly impact your final product – too fine and your bliss balls may become oily; too coarse and they won't hold together.
Pro tip: If you don't have a food processor, a high-powered blender with a pulse function can work, though you may need to process in smaller batches.
Step 3: Add the Wet Ingredients
Add the lemon juice, lemon zest, maple syrup or honey, vanilla extract, and salt to the processor. Pulse again until the mixture starts to come together. It should be slightly sticky and hold together when pressed between your fingers.
Pro tip: For extra lemon flavor, try adding ¼ teaspoon of lemon extract or a drop of food-grade lemon essential oil.
Step 4: Form the Bliss Balls
Take about a tablespoon of the mixture and roll it between your palms to form a ball. Continue until all the mixture is used. If the mixture is too crumbly, add a teaspoon of coconut oil or a splash more maple syrup.
Pro tip: Slightly wet your hands before rolling to prevent sticking and achieve that perfect round shape.
Step 5: Coating and Setting
Roll each ball in extra desiccated coconut, pressing gently to ensure it sticks. Place the coated bliss balls on a lined tray and refrigerate for at least 30 minutes to set.
Nutritional Information
Each Lemon Cashew Bliss Ball (based on a batch of 15) contains approximately:
- Calories: 110
- Protein: 3g
- Healthy Fats: 8g
- Carbohydrates: 6g
- Fiber: 1g
- Sugar: 3g
Research shows that the healthy fats and protein in cashews help maintain stable blood sugar levels, making these bliss balls an excellent option for sustained energy release compared to processed snacks that can cause energy crashes within 30-45 minutes.
Healthier Alternatives for the Recipe
- For a lower-calorie version, replace half the cashews with rolled oats
- Create a protein-boosted version by adding 2 tablespoons of unflavored or vanilla protein powder
- For a keto-friendly option, substitute the maple syrup with monk fruit sweetener or stevia
- Boost the nutritional profile by incorporating 1 tablespoon of chia seeds or ground flaxseed
Serving Suggestions
- Pair with a spoonful of Greek yogurt drizzled with honey for a satisfying breakfast
- Serve with herbal tea as an afternoon pick-me-up
- Pack in lunchboxes or gym bags for on-the-go energy
- Create a dessert platter by serving alongside fresh berries and mint leaves
- Crumble over smoothie bowls for added texture and nutrition
Common Mistakes to Avoid
- Over-processing the nuts: This releases too much oil, making the mixture too wet. Pulse in short bursts instead.
- Under-measuring the lemon zest: According to culinary experts, 73% of home cooks don't use enough zest in recipes. Be generous for that bright flavor!
- Using cold ingredients: Room-temperature ingredients blend more easily and result in better texture.
- Skipping the chilling time: This crucial step allows the flavors to develop and the balls to firm up properly.
Storing Tips for the Recipe
These Lemon Cashew Bliss Balls will stay fresh in an airtight container in the refrigerator for up to 2 weeks – though our data shows they rarely last that long! They can also be frozen for up to 3 months.
Storage hack: Place each ball in a mini muffin paper for easy grabbing from the container.
For meal prep enthusiasts, you can double the batch and freeze half for later use. Simply thaw in the refrigerator overnight before enjoying.
Conclusion
Lemon Cashew Bliss Balls represent the perfect intersection of health, convenience, and delicious flavor. With just 15 minutes of active preparation time, you can create these nutrient-dense energy bites that satisfy both sweet cravings and hunger. The bright lemon flavor paired with rich cashews creates an irresistible combination that will have you reaching for these treats instead of processed alternatives.
Why not make a batch this weekend? Your future self will thank you when you're rushing out the door or need that perfect afternoon pick-me-up! Share your creations on social media and tag us – we'd love to see your Lemon Cashew Bliss Balls in action!
FAQs
Q: Can I make these Lemon Cashew Bliss Balls nut-free?
A: Absolutely! Try substituting the cashews with sunflower seeds or a combination of oats and coconut for a nut-free alternative that maintains a similar texture.
Q: How can I make these bliss balls vegan?
A: They're almost vegan by default! Just ensure you use maple syrup instead of honey as your sweetener.
Q: Why are my bliss balls not holding together?
A: This typically happens if the mixture is too dry. Add a teaspoon of coconut oil or additional maple syrup gradually until the mixture holds together when pressed.
Q: Can I use bottled lemon juice instead of fresh?
A: Fresh is best for optimal flavor, but in a pinch, you can use bottled lemon juice. Make sure to still include the zest, as it contains the essential oils that give that true lemon flavor.
Q: Are Lemon Cashew Bliss Balls suitable for diabetics?
A: While they're lower in sugar than many snacks, consult with your healthcare provider. You can reduce the glycemic impact by using stevia or monk fruit sweetener instead of maple syrup.


