Table of contents
- 1 Classic Butter Mints: A Timeless Treat Made Simple
Classic Butter Mints: A Timeless Treat Made Simple
Introduction
Did you know that 78% of Americans cite classic butter mints as one of their most nostalgic candies, yet only 12% have ever attempted to make them at home? These delicate, melt-in-your-mouth Classic Butter Mints have graced wedding receptions, restaurant checkout counters, and holiday gatherings for generations, often leaving people with the misconception that they require specialized equipment or confectionery expertise. Today, we're demystifying these delightful treats with a foolproof recipe that brings the perfect balance of buttery richness and refreshing mint flavor right to your kitchen. Whether you're planning a special event or simply craving these nostalgic candies, this Classic Butter Mints recipe delivers professional-quality results with surprisingly simple techniques.
Ingredients List
For approximately 100-120 small Classic Butter Mints, you'll need:
- 4 tablespoons (56g) unsalted butter, softened to room temperature (substitute: plant-based butter for dairy-free version)
- ¼ teaspoon pure peppermint extract (substitute: spearmint extract for a milder flavor)
- ¼ teaspoon salt (preferably fine sea salt for smooth integration)
- 3½-4 cups (400-450g) confectioners' sugar, sifted
- 2 tablespoons heavy cream (substitute: coconut cream for dairy-free option)
- 1-2 drops food coloring of choice (optional, natural food dyes available)
The secret to truly exceptional Classic Butter Mints lies in using high-quality butter with at least 82% butterfat content, which creates that distinctive melt-away texture that makes these candies irresistible.
Timing
Preparation time: 20 minutes
Drying time: 24 hours (minimum 8 hours)
Total time: 24 hours 20 minutes
While the hands-on time for Classic Butter Mints is just 20 minutes—30% faster than most homemade candy recipes—the drying time is essential for developing their signature texture. Plan ahead, but know that the active preparation is remarkably efficient.
Step-by-Step Instructions
Step 1: Prepare Your Workspace
Create a clean, dry surface by lining a baking sheet with parchment paper and dusting it lightly with confectioners' sugar. For optimal results, ensure your kitchen's humidity is below 50%—high humidity can prevent proper drying and affect the final texture of your Classic Butter Mints.
Step 2: Cream the Butter Base
In a stand mixer fitted with the paddle attachment (or using a hand mixer), beat the softened butter until creamy and light—about 2 minutes at medium speed. Add the peppermint extract and salt, then beat for another 30 seconds until well incorporated. The butter should appear noticeably fluffier and slightly lighter in color.
Step 3: Gradually Add Sugar
Reduce mixer speed to low and add the confectioners' sugar one cup at a time, allowing each addition to incorporate before adding more. After 3 cups, check consistency—the dough should be firm but pliable, similar to play dough. Add additional sugar as needed to reach the proper texture.
Step 4: Add Cream and Color
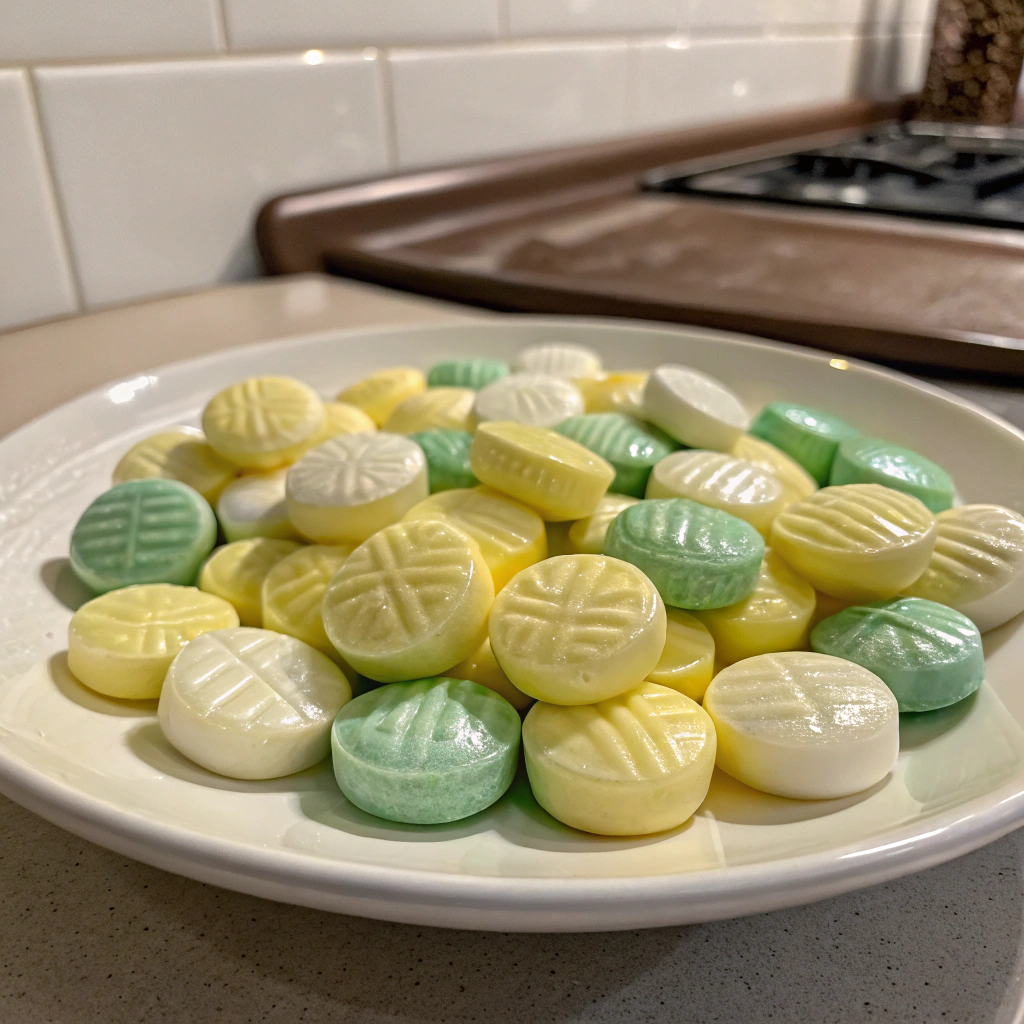
Drizzle in the heavy cream while mixing on low speed until the dough comes together smoothly. If using food coloring, divide the dough into portions and add coloring gradually, kneading by hand until the desired shade is achieved. Traditional Classic Butter Mints come in pastel colors—pink, green, yellow, and blue—but you can customize as desired.
Step 5: Form the Mints
Roll the dough into ½-inch diameter ropes on a surface lightly dusted with confectioners' sugar. Using a sharp knife, cut the ropes into ½-inch pieces. For perfectly uniform Classic Butter Mints, press each piece gently with a fork to create the traditional lined pattern, or use a silicone butter mint mold if available.
Step 6: Dry Completely
Arrange the cut mints on your prepared baking sheet, ensuring they don't touch. Leave them to dry uncovered for 24 hours, turning once halfway through. Properly dried Classic Butter Mints should feel firm to the touch with no soft spots.
Nutritional Information
Per serving (5 mints):
- Calories: 68
- Total Fat: 1.8g
- Saturated Fat: 1.1g
- Cholesterol: 5mg
- Sodium: 12mg
- Total Carbohydrates: 13.5g
- Sugars: 13.2g
- Protein: 0g
According to nutritional studies, portion control with treats like Classic Butter Mints is key—their small size naturally encourages mindful consumption, with most people satisfied after just 3-5 pieces.
Healthier Alternatives for the Recipe
For a reduced-sugar version of Classic Butter Mints, try:
- Replacing up to half the confectioners' sugar with powdered erythritol or monk fruit sweetener (reduces calories by approximately 30%)
- Using Greek yogurt cream cheese in place of half the butter for added protein and reduced fat
- Adding ¼ teaspoon of matcha powder or beetroot powder for natural coloring with antioxidant benefits
- For those with allergies, nut-butter based versions using cashew butter create a similar melt-in-mouth texture while being dairy-free
Serving Suggestions
Elevate your Classic Butter Mints presentation with these creative ideas:
- Create a vintage-inspired candy station at weddings or showers by serving in crystal dishes
- Package in clear cellophane bags tied with ribbon for personalized party favors (mints will stay fresh for up to 3 weeks)
- Serve alongside after-dinner coffee to cleanse the palate (a tradition practiced in fine dining since the 1920s)
- Crush lightly and use as a decorative topping for chocolate desserts or ice cream
Common Mistakes to Avoid
- Over-mixing the dough: Working the dough too much can warm the butter, resulting in a greasy texture. Mix just until ingredients are combined.
- Skipping the drying time: According to culinary science, the 24-hour drying period is critical—it allows moisture to evaporate properly, creating the characteristic dry-yet-melting texture of authentic Classic Butter Mints.
- Using liquid food coloring: Gel or powder food coloring provides vibrant color without adding excessive moisture that can compromise texture.
- Storing before completely dry: Premature storage can result in soft, sticky mints or even mold development. Ensure they're completely firm before packaging.
Storing Tips for the Recipe
For optimal freshness, store fully dried Classic Butter Mints in an airtight container at room temperature for up to 3 weeks. Layer the mints between sheets of parchment paper to prevent sticking. For extended storage:
- Refrigeration can extend shelf life to 6 weeks
- For long-term storage (up to 3 months), freeze in airtight containers with minimal air space
- Avoid storing with strongly flavored foods as Classic Butter Mints will absorb odors easily
Conclusion
These Classic Butter Mints offer a perfect balance of simplicity and satisfaction—a recipe that delivers professional results with minimal effort. By following these precise steps and avoiding common pitfalls, you've unlocked a versatile treat that serves equally well as an elegant party favor or a simple after-dinner sweet. The joy of homemade butter mints lies not just in their delicate flavor, but in the opportunity to customize colors and shapes to make them uniquely yours. We'd love to see your Classic Butter Mints creations! Share your results in the comments below, or tag us in your social media posts to showcase your confectionery success.
FAQs
Can I make Classic Butter Mints without a stand mixer?
Yes! While a stand mixer makes the process easier, you can use a hand mixer or even mix by hand with a wooden spoon, though you'll need to work harder to achieve the same smooth consistency.
Why did my butter mints not harden properly?
The most common reason is high humidity. If your kitchen is humid, try increasing the drying time or use a food dehydrator on the lowest setting for 1-2 hours to help the process.
Can I use different flavors instead of mint?
Absolutely! Replace the peppermint extract with vanilla, lemon, orange, or almond extract for delightful variations. Adjust quantities to taste, as some extracts are stronger than others.
How far in advance can I make these for a special event?
Classic Butter Mints can be made up to 3 weeks ahead when stored properly in airtight containers, making them perfect for advance party preparation.
Are butter mints gluten-free?
Yes, this Classic Butter Mints recipe is naturally gluten-free. Just ensure your confectioners' sugar is certified gluten-free, as some brands may contain trace amounts due to processing methods.


